How to take photos for photogrammetry?
The Subject
Compatible Surfaces
Some surfaces can cause problems during 3D reconstruction in photogrammetry due to their properties. Incompatible surfaces include transparent ones like glass, which may create distortions and prevent the detection of common points, reflective surfaces like car bodies, which can cause glare, and monochromatic surfaces without flaws, such as a uniform white wall, which may lack distinctive points for matching between images. By reducing the presence of these surfaces when capturing your images, you increase your chances of obtaining an accurate and complete 3D reconstruction.

Glass and reflections
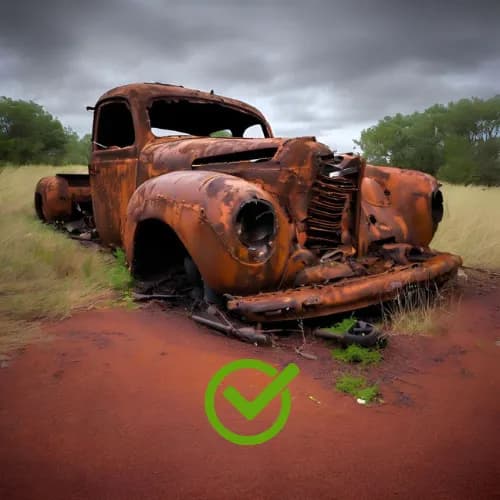
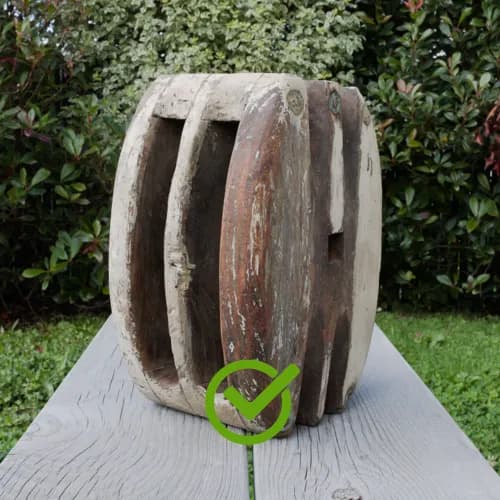
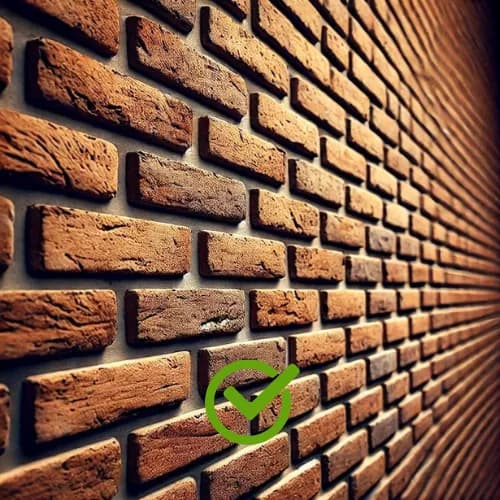
Textured surfaces
The subject must be stationary
To obtain accurate results in photogrammetry, all elements of the scene must remain stationary during the photo shoots. Avoid movement of people, animals, and objects, as well as windy days that may cause objects like trees or fabrics to move. Additionally, changes in the shape and position of clouds can affect lighting and shadows, which can harm photogrammetry. It’s best to capture images with a clear or slightly cloudy sky.

Moving subject
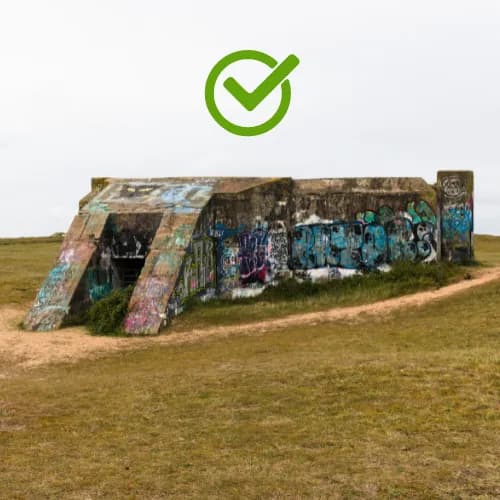
Stationary subject
Taking Photos
Surface
To capture an image of a surface, such as a wall, floor, or terrain, photos should be taken parallel to the surface with at least 60% overlap. This means each photo should contain at least 60% of the area covered by the previous one. This overlap ensures sufficient common reference points between images for photo alignment.
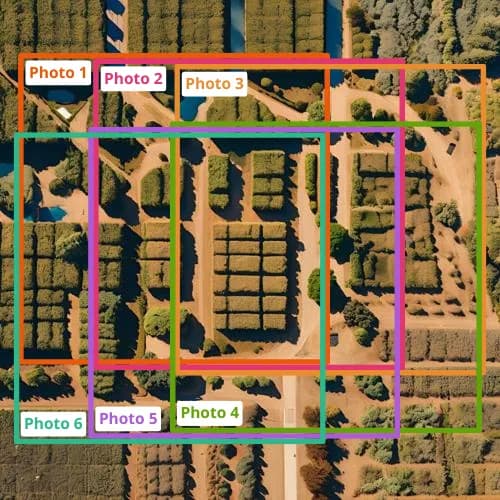
60% min overlap
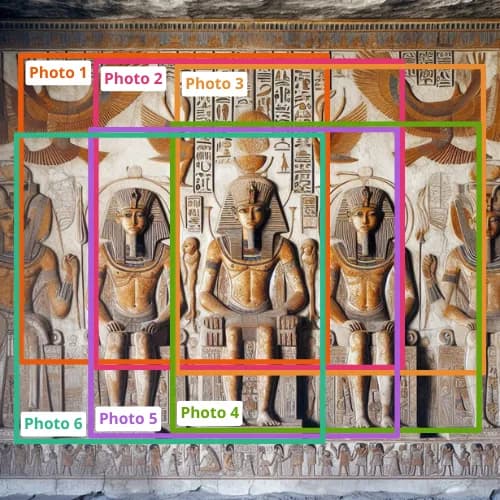
60% min overlap
Interior
For indoor photogrammetry, plan a path ensuring 60% overlap between photos. Take photos with your back to the wall, and in addition to general views, capture images of important details. By adhering to these principles of overlap and coverage, you'll get effective shots for a quality 3D reconstruction.
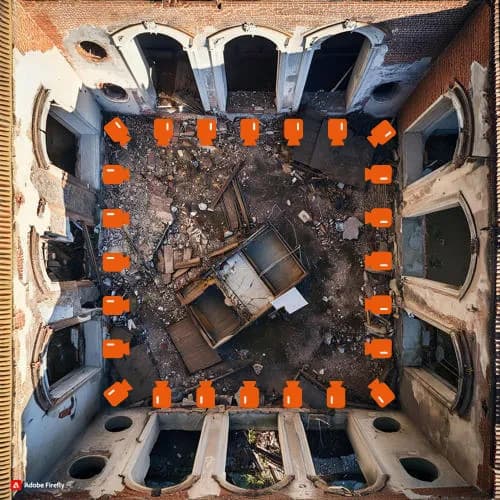
Whole room capture
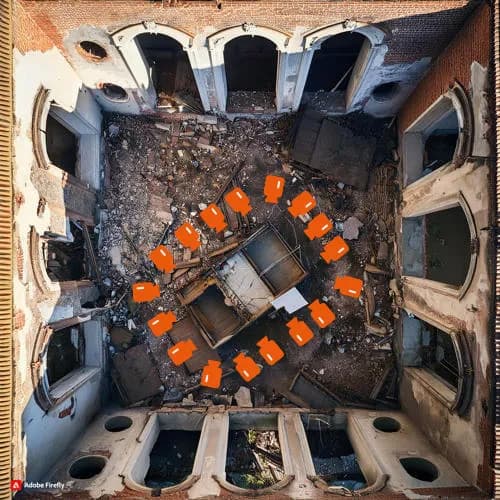
Isolated subjects capture
Isolated subject
When capturing an isolated object for photogrammetry, it is essential to take spherical shots to get an accurate 3D reconstruction. Take a series of shots all around the object, ensuring at least 60% overlap between each image. For full coverage, take photos from different angles, getting close to the object so it occupies a large portion of the image. If the object exceeds the frame limits, this is not an issue. The goal is to capture enough detail to reconstruct the object’s shape and texture in 3D accurately.
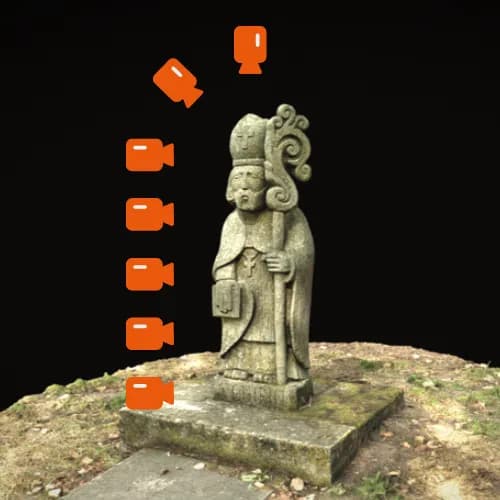
Entire surface capture
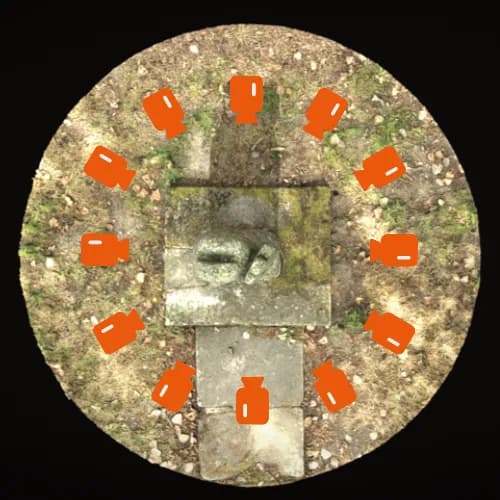
Entire surface capture
Equipment
Types of devices
Various devices with at least a 5 MP sensor can be used for photogrammetry, such as smartphones, video cameras, DSLR or mirrorless cameras, as well as drones. Each of these devices has its advantages and limitations, and the choice will depend on the project's complexity and the desired quality for 3D reconstruction.
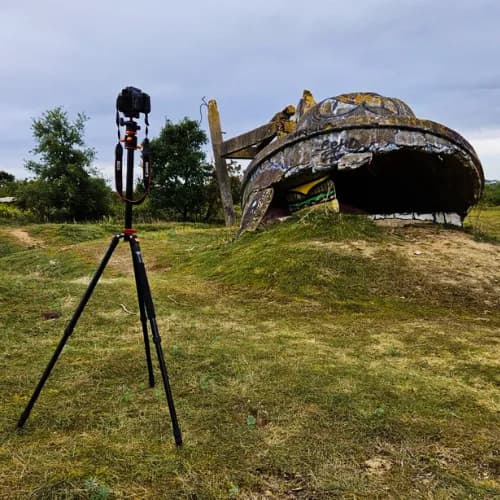
DSLR
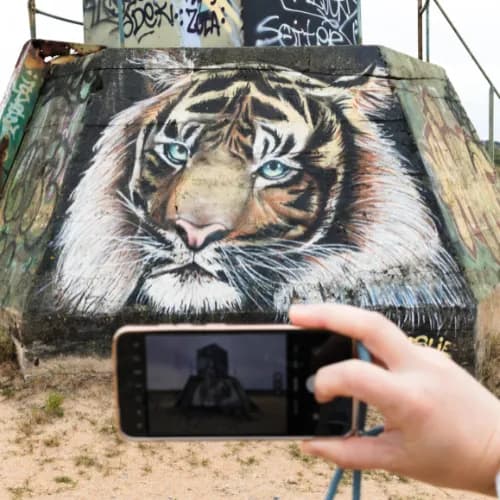
Smartphone
Settings
The quality of images is crucial for high-performance photogrammetry. Ensure you set the ISO value to the minimum to avoid noise, and adjust the aperture for sufficient depth of field so that the entire image is sharp. Choose an appropriate shutter speed and use a tripod to avoid blurriness. To preserve image quality and ensure precise and detailed 3D reconstruction, use RAW or TIFF files. JPG files can be used for photogrammetry but may introduce undesirable noise.

Blurred image areas
No-blur photos
Lenses
For photogrammetry, the ideal choice is a 50 mm focal length. It's best to select a focal length between 20 and 80 mm, while avoiding wide-angle and fisheye lenses. If you use zoom lenses, it’s recommended to set the focal length to either its maximum or minimum for the entire session, without changing it during the shoot, to obtain more stable and accurate results in your 3D reconstruction.

Fisheye lenses
Lenses from 20 to 80 mm
Lighting
Lighting
For optimal photogrammetry, avoid shadows, as unlit areas cannot be properly reconstructed. A cloudy sky with diffuse light is the ideal environment, as direct light conditions may cause reflections and obscure certain elements of the scene. In case of insufficient lighting, such as indoors, using a tripod is recommended to allow for longer exposure times. Using circular flash or additional lighting can be useful, especially for underwater shots. In this case, place the lighting around the lens to avoid creating shadows and to ensure uniform lighting of the scene.
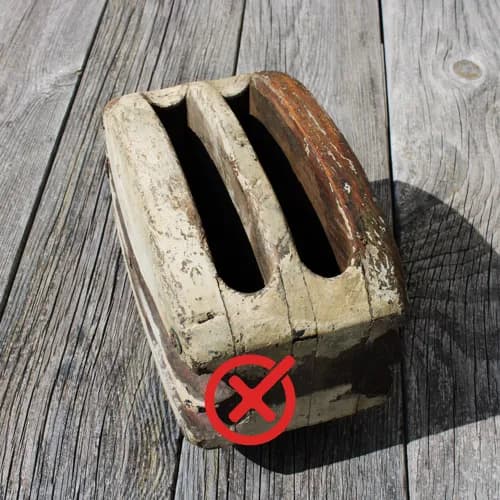
With shadows
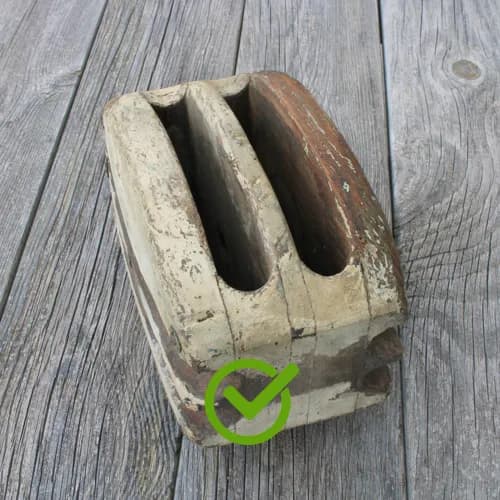
Without shadows